Cutting Practice Lines
Preschool · Handwriting & Tracing
ELOF P-PMP 3 · ★ Easy
cozyworksheets
Name: ______________________________Date: ______________
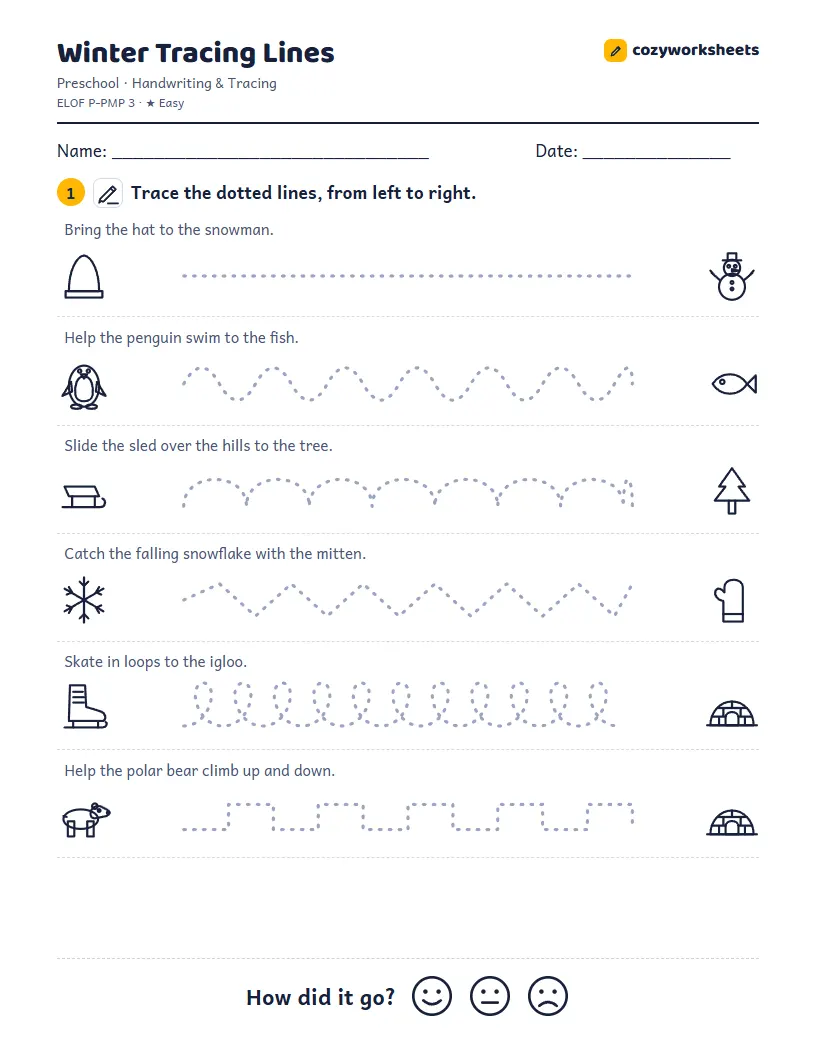
1Cut along each dashed line, from the scissors to the picture.
How did it go?
Published Oct 30, 2026
There is nothing to check on this page. What matters is that your child opens and closes the scissors smoothly and turns the paper with the helper hand.
The lines, from easiest to hardest: two straight lines, waves, a zigzag, bridges, and steps. The straight lines come first on purpose; move down the page only when they feel easy.
Safety: use child-safe scissors with rounded tips and stay close by. Small, crooked cuts are completely normal at this age.
Made with the help of AI from public curriculum standards, then checked. Mistakes can slip through, so please look it over before use. Found one? Tell us and we will fix it.
Cutting with scissors is one of the best workouts for the small muscles of the hand. Opening and closing the scissors strengthens the same fingers your child will use to hold a pencil, and steering the paper with the other hand teaches both hands to work as a team. The six strips start with straight lines and move on to waves, a zigzag, bridges, and steps, so your child builds control one step at a time. Each strip ends at a picture, which gives a clear finish line.
Head Start ELOF P-PMP 3: Building hand strength and control for holding pencils, cutting, and tracing
Short descriptions in our own words. About our standards.
Show the thumbs-up grip: thumb in the small hole, fingers in the big one, thumb on top. The helper hand holds the paper and turns it, while the cutting hand just opens and closes. A common habit is cutting with the scissors pointing sideways or toward the body; gently turn the hand so the scissors point away. One strip a day is plenty if small hands get tired.
Easier: Cut the page into separate strips first, so each one is small and easy to hold, and start with the two straight lines only. Thicker paper also helps.
Harder: Ask your child to stay exactly on the dashed line all the way to the picture, then glue the cut strips in order from easiest to hardest.
There is nothing to check on this page. What matters is that your child opens and closes the scissors smoothly and turns the paper with the helper hand.
The lines, from easiest to hardest: two straight lines, waves, a zigzag, bridges, and steps. The straight lines come first on purpose; move down the page only when they feel easy.
Safety: use child-safe scissors with rounded tips and stay close by. Small, crooked cuts are completely normal at this age.
It is made for Preschool (ages 3-4). The level is ★ easy, so it works well as a first practice page.
About 15 minutes. Young children can do it in two short sittings with a break in between.
On the second page of the PDF and on this page under Show the answer key. To print for a whole class, print only the first page of the PDF.
Head Start ELOF P-PMP 3 (building hand strength and control for holding pencils, cutting, and tracing).
Yes. Print as many copies as you need for your own children or students. Please do not resell it or upload it to other websites.